Who am I?
In the steampunk world, I am Lucretia Strange, the Baroness Strange. I run the Promethean Society, and do a variety of presentations at steampunk conventions.
In the real world, I am Cassie Beyer and a historian with a blog, History, Interrupted, devoted to history, steampunk, costuming, popular culture and other eclectic interests.
You can best reach me through the Promethean Society or through Cassie@AlterEgoDesign.net. AlterEgo is my freelance web design endeavor focused on small businesses, individuals and organizations.
Ball Gown Overskirt
 Unlike my other overskirts,
this item was not built from an existing skirt but rather from a rectangular
piece of cloth 45 inches wide (the width of the bolt at the fabric store) and 3
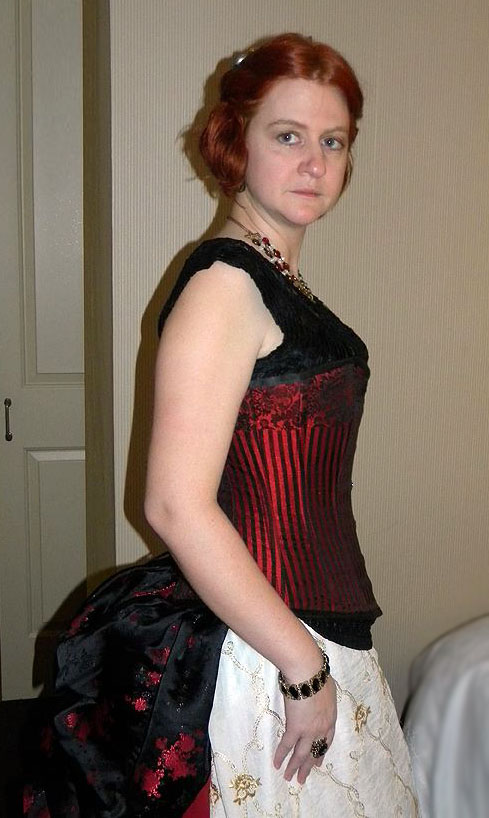
yards long. It fastens around my waist with a drawstring, and the corset is
then placed over it. The blouse shown in the picture is a separate garment.
There is a bustle pad underneath.
Unlike my other overskirts,
this item was not built from an existing skirt but rather from a rectangular
piece of cloth 45 inches wide (the width of the bolt at the fabric store) and 3
yards long. It fastens around my waist with a drawstring, and the corset is
then placed over it. The blouse shown in the picture is a separate garment.
There is a bustle pad underneath.
I've gotten a lot of compliments on how long it must have taken me to construct it. In fact, it only took a couple hours.
One of the benefits of using the full width of the cloth is that I didn't have to hem the sides - they came already finished, so that they wouldn't unravel. I simply had to hem the top and bottom.
This fabric also had a clear right and wrong side. The black is the right side, while the red is the wrong side.
The first thing I did was pleat the edges. These I measured out so the folds would be even and both sides would align with each other. Eventually I turned those pleats inside out, forming the red, triangular highlights. (Incidentally, this is totally non-historical.)
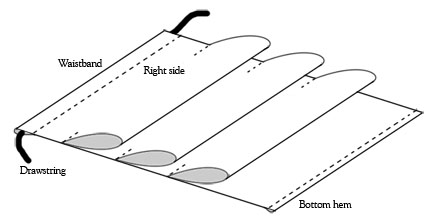
Once this is done, flip the fabric over so that the wrong side is face up. Find what is roughly the vertical center of the fabric. Pinch the fabric somewhere along that line and lift it up (toward the waistband) several inches and safety pin in place. Move to a point father down that central line and repeat. This created the poofs of fabric on the right side of the garment.
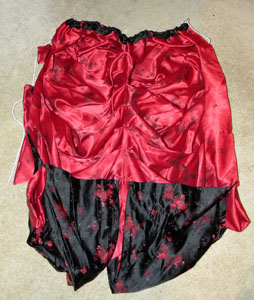
Wrong side of the skirt. Here you can see how fabric has been lifted in the center and pinned closer to the waistband. The bottom has been turned under (thus showing the back material that is the right side of the skirt) to get rid of the square look.
The image on the right is the wrong side of the garment. See how the fabric has been pulled upward at regular points along the central axis. When you're happy with the look, sew the points in place.
Because this was built from a rectangle of fabric, the bottom looked very square and unfinished. The solution was simply to fold the bottom corners under to provide a more curved bottom edge to the garment.
The pinching, lifting and pinning done here is the same process used to create the back of my Bustled Overskirt.